¶ NAS Service
The NAS Service provides file-level data storage and access. Local volumes allow storage directly within the VergeIO vSAN, while Remote Volumes mount a pre-existing (external) file system. Utilizing the NAS service will enable you to leverage VergeIO vSAN features, such as redundancy, deduplication, syncs, and snapshots on file-level data.
¶ The NAS Service Recipe
To utilize the NAS feature, a NAS service instance is created using the NAS Recipe provided by VergeIO. If this is the first time building a NAS service within the VergeIO system, the Recipe must first be downloaded. This download will include the latest default configuration options for a NAS server.
Downloading the Latest NAS Recipe:
- From the Main Dashboard, navigate to Repositories

- Double-click on the VergeIO entry in the listing to access the VergeIO repository.
- Click VM Recipes to list the available VM recipes provided by VergeIO.
- Double-click the Services Catalog
- Click Download on the left menu to retrieve the latest version of the NAS recipe.
- Click Yes to confirm the download.
- Wait while the download retrieves the latest published version.
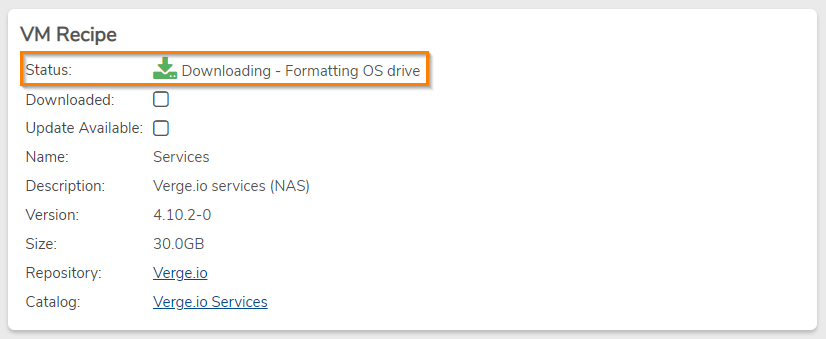
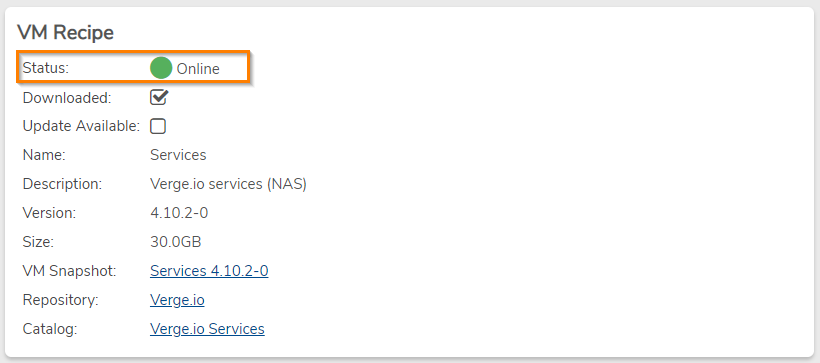
- The Status field in the upper left of the dashboard will show a status of Downloading while in progress. When the status changes back to “Online”, the latest version has been successfully downloaded and is now ready to use to create a NAS service.


¶ Creating a New NAS Instance
After the latest NAS recipe is downloaded, a NAS Service can be created.
To Create a New NAS Instance:
- From the Main VergeIO dashboard, click NAS to navigate into the NAS dashboard.
- From the NAS dashboard, double-click NAS Services to navigate into the NAS Services list view.
- Click New to begin creating a new NAS instance from the Recipe
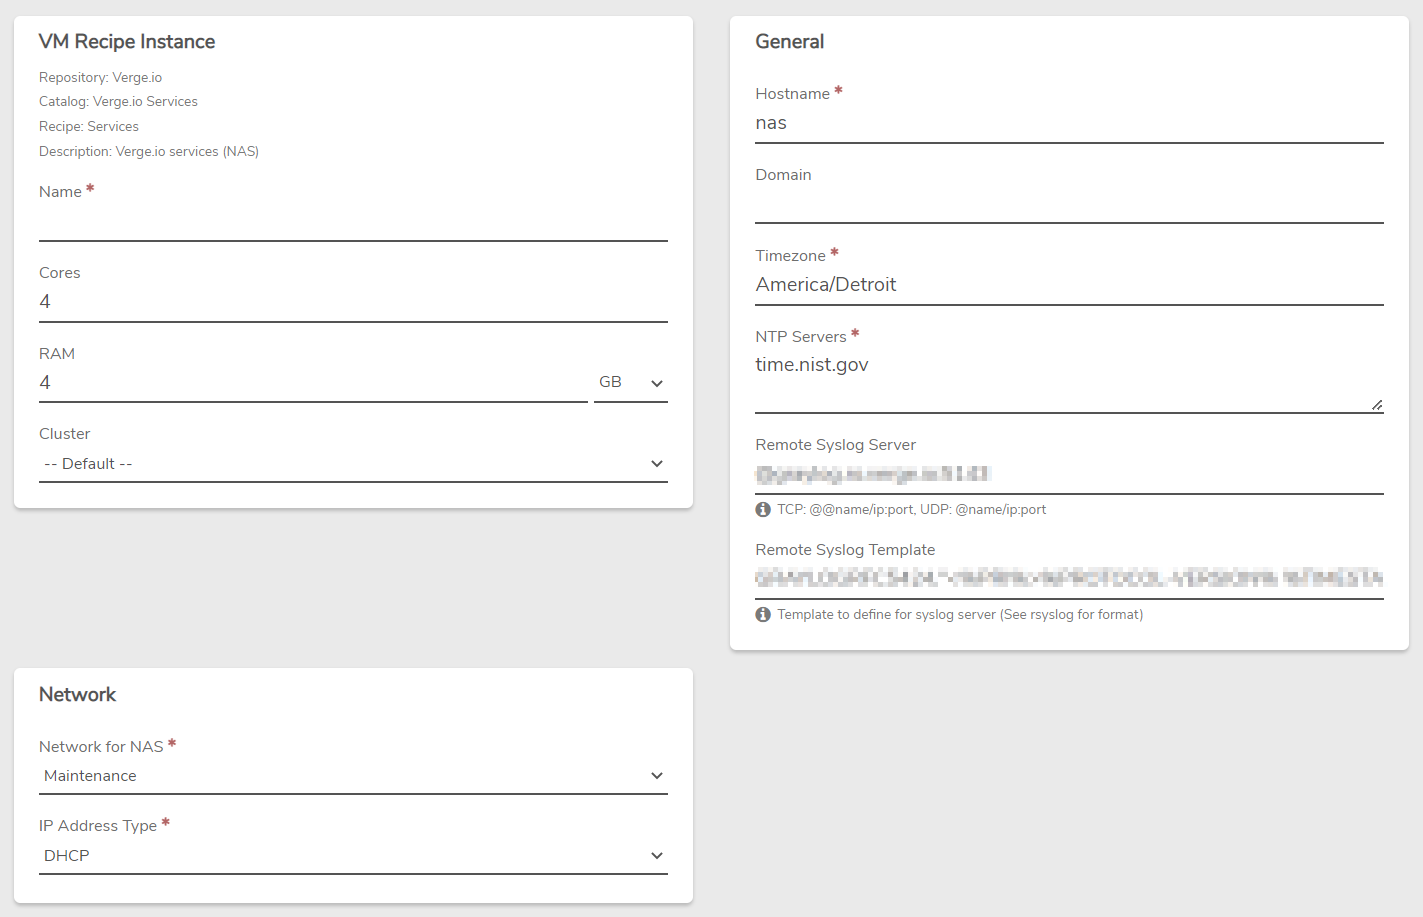
- Complete the following fields:
- Name: Name of this NAS Instance
- Cores: Default -4 cores- is typically a suitable setting; however, increasing cores in some situations, such as those with heavy anti-virus operations or intensive sync activity, may be necessary.
(This value can be adjusted later if needed; modifying the value will require a power cycle of the NAS service VM to take effect.) - RAM: Default -4 GB- is typically a suitable setting; however, it may be necessary to increase RAM in some situations; heavy file caching operations can affect RAM needs.
(This value can be adjusted later if needed; modifying the value will require a power cycle of the NAS service VM to take effect.) - Hostname: This needs to follow valid hostname conventions, which is 1-63 alphanumeric characters with dots and hyphens allowed.
- Timezone: The system defaults to America/Detroit but can be set to a different timezone as needed.
- NTP Servers: The system defaults to time.nist.gov but can be set to a different time authority, as appropriate.
- IP Address Type: Set an IP (Or DHCP) for the NAS server.
- Network for NAS: Select the network to host the NAS.

- When fields are entered, click Submit. The NAS Service dashboard appears.
- Click Power On on the left menu to start the NAS service. The NAS is now ready for use.
Need more Help? Email [email protected] or call us at (855) 855-8300