¶ User Interface Branding & Customization
Out of the package, the VergeIO software uses a standard user interface aesthetic, comprised of a VergeIO logo in the upper-left of the screen and a primarily blue, white, and orange color scheme. Organizations can customize the UI by navigating to System > Settings > Edit UI Branding.
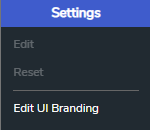
¶ Edit UI Branding
Once Edit UI Branding is selected, check the box labeled Enabled to begin the process of customizing the UI.
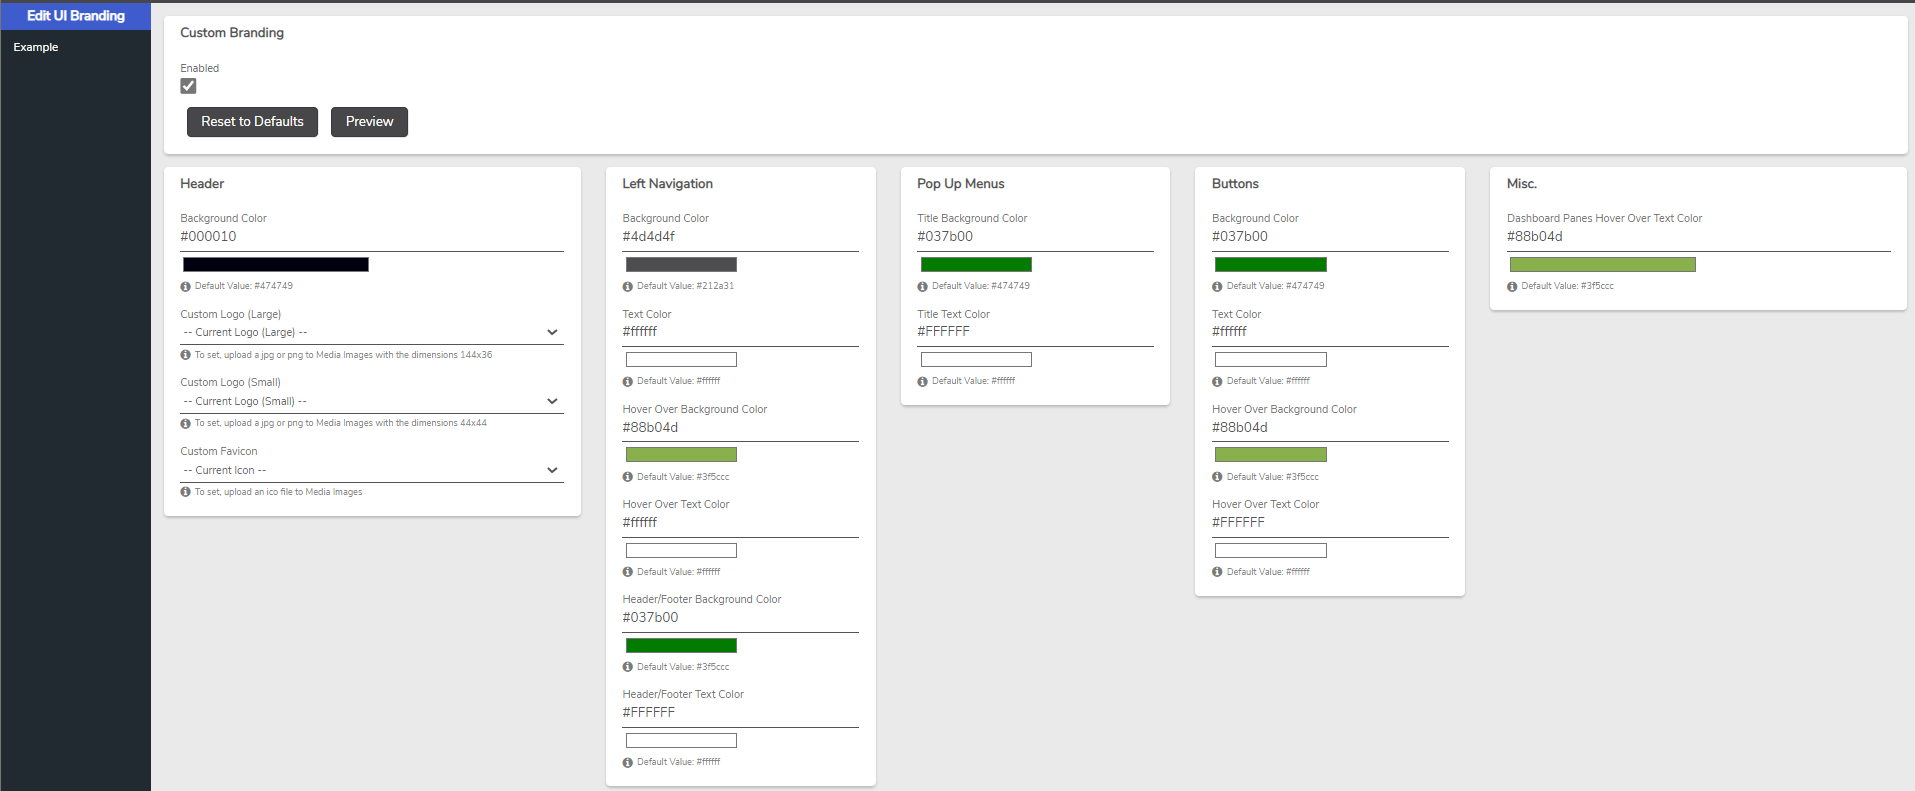
There are several areas within the Verge.io software that can be customized in terms of background and text color. The five sections that allow for customizations include:
- Header
- Left Navigation
- Pop-Up Menus
- Buttons
- Misc
¶ Changing Background or Text Color
To change any of the colors in Edit UI Branding, simply click on the color requiring modification. When clicked, a color palette pop-up window will display.
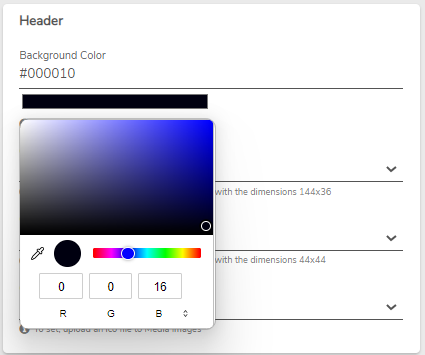
Either click on the color palette and roll the cursor around or type in the hex value (if they are known) to select the color desired. When the intended color displays, exit the color palette window to select.
NOTE: Use the Preview option in the Custom Branding section to preview the appearance of custom colors without needing to Submit.
¶ Setting Custom Logo in UI
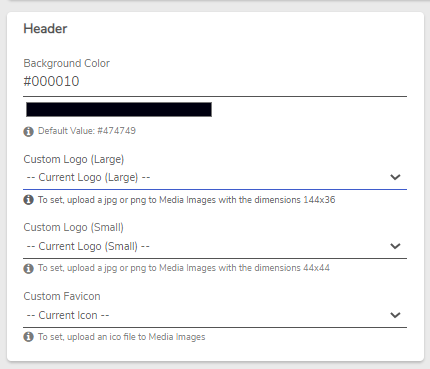
Administrators can also set custom Logos in Edit UI Branding, utilizing either the drop-down for “Custom Logo (Large)” or “Custom Logo (Small).” To upload these images, please use either .jpg or .png with the following dimensions:
Custom Logo (Large): 144 x 36 pixels
Custom Logo (Small) 44 x 44 pixels
To upload the Logo into VergeIO, perform the following:
-
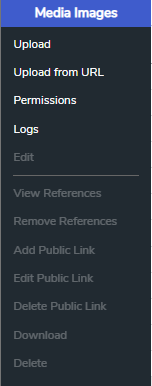
Navigate using the Left Navigation bar to then Cloud Dashboard > Media Images and click Upload.
-
From the Upload Files pop-up, click Choose Files.
-
Browse out to the computer location for the .jpg or .png for either the Large Custom Logo or Small Custom Logo.
-
Click Upload.
-
Return to the page for Edit UI Branding (System > Settings > Edit UI Branding) and select the image just uploaded in either the Custom Logo (Large) or Custom Logo (Small) drop-down:
- Click Submit
NOTE: Preview does not work for Logos.
Need more Help? Email [email protected] or call us at (855) 855-8300